Creating your own Community is like starting with a clean slate. Your new Community will have no chats, meetings, contacts, etc. You will be able to define the settings and you will be the only member who has access to the administration panel, but you can give other members access later.
You can only create a Community if you have subscribed to a plan that allows you to do so. If you have the ability to create a Community, you can do so from the administration panel. Note that the administration panel is only available in the web client, accessible at webx.digita.im.
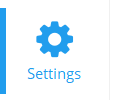
First select the Settings tab of the navigation panel on the left side of the screen. On mobile, this is accessible from the Home tab.
You can access the administration panel from the bottom of this menu.
![]()
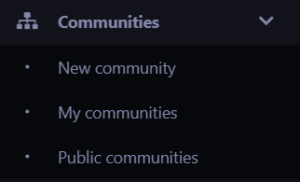
Next, click Communities on the left side of the administration panel to expand the Communities menu, and click New Community.

This will open the Community creation panel. Here, you must enter your new Community’s details:
- Community name
- Owner’s first name
- Owner’s last name
- Owner’s email address
- Category
- Subcategory
- Welcome Bot Alias
Finally, click Create to create your new Community. You may go back and edit your Community from the administration panel at any time.


